Computer Troubleshooting Guides
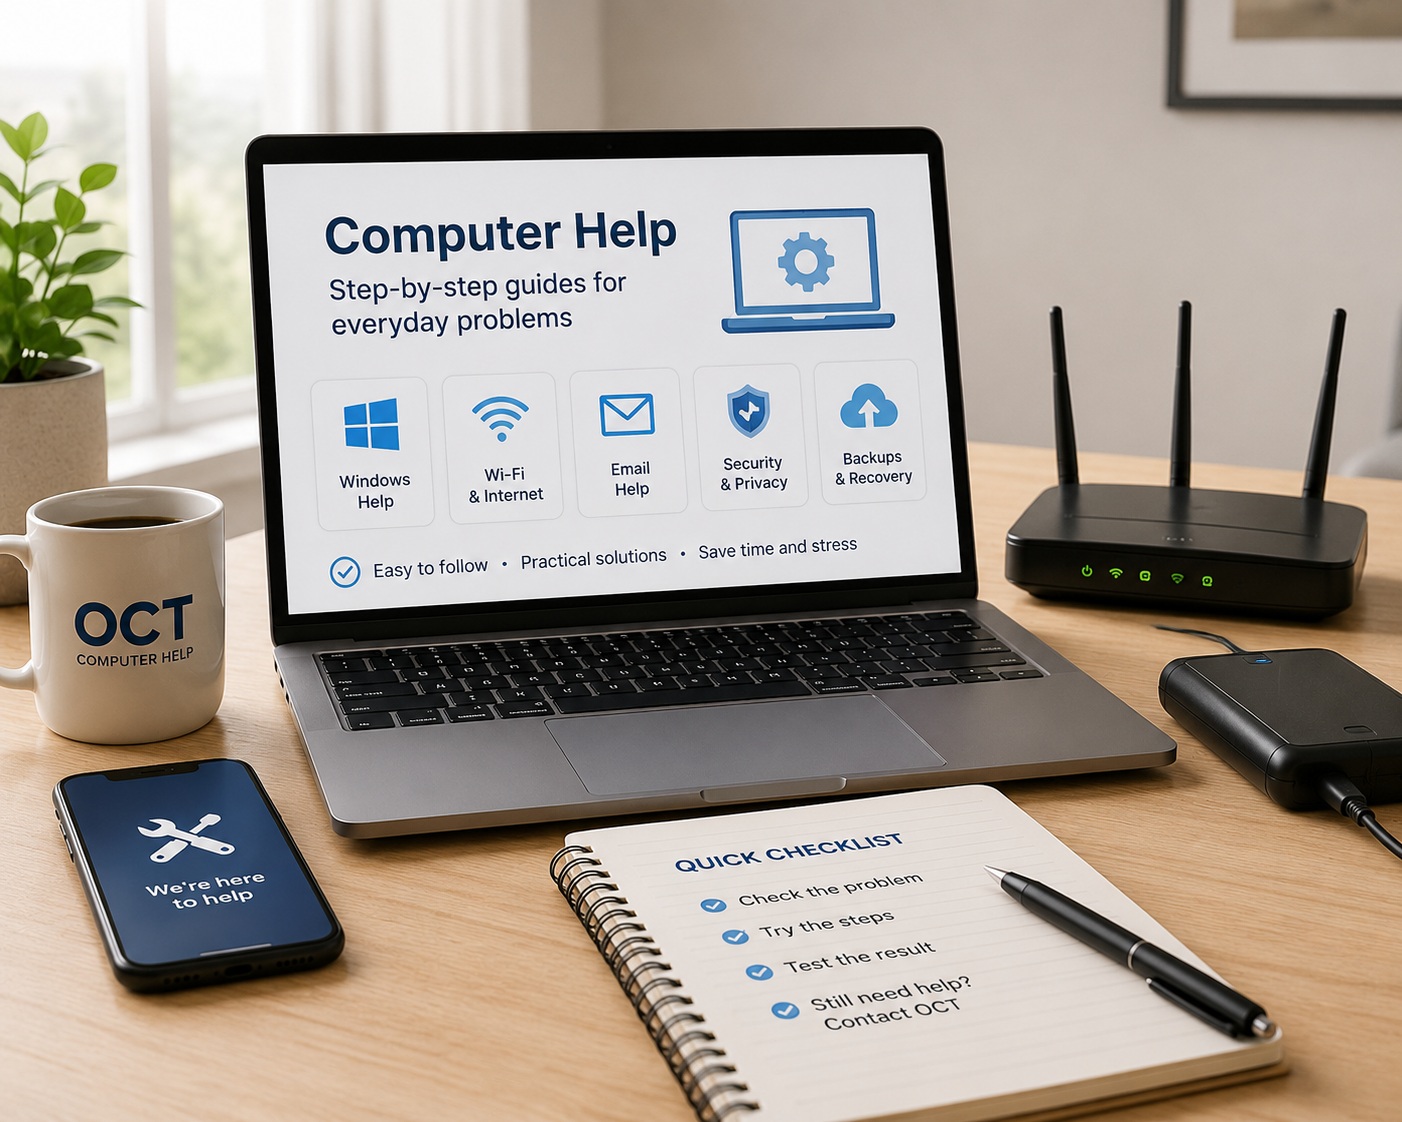
18 free step-by-step guides to fix common Windows, laptop, and PC problems. From slow boot times to viruses, Wi-Fi issues to hardware failures—get expert solutions without leaving your home.
DIY Computer Fixes for SE Melbourne Residents
Before paying for repairs, try these safe, built-in Windows tools to resolve the most common laptop and PC issues. Each guide includes step-by-step instructions anyone can follow. If you get stuck or need professional help, just call Ahmad directly.
Computer Troubleshooting Solutions
💻 Performance & Slow Computers
Slow boot times are one of the most common frustrations for Windows users. Over time, as you install new apps, utilities, and software, your computer's startup sequence gets cluttered.
Step 1: Disable Unnecessary Startup Programs
Every time Windows loads, it secretly launches dozens of apps in the background. Many of these don't need to be running immediately.
- Press Ctrl + Shift + Esc to open Task Manager.
- Click on the "Startup apps" tab.
- Look for apps with "High" or "Medium" impact that you don't need (like Spotify, Skype, Steam).
- Right-click and select "Disable". Avoid disabling antivirus or audio drivers.
Step 2: Turn On Windows Fast Startup
This feature saves a system snapshot before shutdown, allowing faster boot sequences.
- Control Panel → Hardware and Sound → Power Options
- Click "Choose what the power buttons do"
- Click "Change settings that are currently unavailable"
- Check "Turn on fast startup" and save.
Step 3: Check for Corrupted System Files
Use Windows' built-in repair tool to fix boot issues:
- Right-click Start menu → "Terminal (Admin)"
- Type:
sfc /scannow - Let it run to 100% and restart your PC.
Still slow? If boot times haven't improved, the issue may be an aging mechanical hard drive. See Topic 4: Signs Your Computer Needs an SSD Upgrade for a lasting solution.
When disk space drops below 10-15%, Windows struggles to manage temp storage. Before deleting personal files, use these safe automated tools.
Step 1: Use Storage Sense
- Settings → System → Storage
- Toggle "Storage Sense" ON
- Click "Run Storage Sense now" to purge temp files, installation logs, and old Recycle Bin items.
Step 2: Clean Up Windows Update Files
Windows Update often leaves 5-20GB of old files behind. These can be safely removed:
- Search for "Disk Cleanup" and open it
- Select your main drive (C:) and click OK
- Click "Clean up system files" (requires admin access)
- Check "Windows Update Cleanup" and delete
Step 3: Uninstall Large, Unused Programs
- Settings → System → Storage → "Installed apps"
- Sort by "Size"
- Uninstall programs you no longer use
Still full? You may have outgrown your drive's capacity. Online Computer Technician can safely clone your entire system to a larger SSD without losing any files.
Computer freezing indicates resource bottlenecks or background conflicts. Let's diagnose the exact cause.
Step 1: Check for Web Browser Overload
Modern browsers are memory hogs. If you keep dozens of tabs open, your system runs out of RAM.
- Close unused browser tabs
- Remove unrecognized extensions (puzzle icon → extensions → remove coupon finders, toolbars, etc.)
Step 2: Identify Resource Hogs in Task Manager
- Press Ctrl + Shift + Esc
- Look at the CPU, Memory, and Disk columns
- If any column shows 90-100%, click the header to sort and identify the culprit
- Click on it and select "End Task" to stop it temporarily
Step 3: Run a Malware Scan
Hidden malware or crypto-mining scripts consume system resources invisibly:
- Windows Security → "Virus & threat protection"
- Click "Scan options" → Select "Full scan"
- Let it scan completely (may take 1-2 hours)
Freezing persists? The issue could be an overheating processor (see Topic 15: Laptop Overheating) or deeper system corruption requiring professional diagnostics.
Many 4-5 year old computers aren't dead—they're just held back by outdated mechanical hard drives (HDDs). An SSD upgrade is the single best hardware investment you can make.
How to Check if You Have an HDD
- Press Ctrl + Shift + Esc → Performance tab → Disk (C:)
- Look for "HDD" or "SSD" label at the top
- If it says HDD, you're running 2000s-era technology
Signs You Need an SSD Upgrade
- 100% Disk Usage: Task Manager shows disk at 100% for minutes after startup
- Clicking/Whirring Sounds: Hear mechanical spinning or clicking from inside the chassis
- Slow File Transfers: Moving files to USB drives takes forever
- Delayed App Launching: Chrome or Word takes 10-15 seconds to open
Why SSD Wins Over a New PC
- Cost: Professional SSD upgrade = fraction of a new laptop cost
- Speed: 5-10x faster boot times (minutes → 15-20 seconds)
- Reliability: No moving parts = less power drain, longer battery life
Ready to upgrade? Online Computer Technician provides professional SSD upgrade services with complete data cloning across SE Melbourne.
🛡️ Security, Viruses & Pop-ups
Not all slowness is caused by viruses, but real malware shows telltale signs. Here's how to identify a genuine infection.
Sign 1: Unexpected Pop-Ups on Your Desktop
If random advertisements appear even when you're not using a browser, you have adware. These fake "security alerts" are designed to trick you into clicking malicious links.
Sign 2: Your Web Browser Has Been Hijacked
Your homepage changed without permission. Searches redirect to unfamiliar search engines. Your default browser is different. These are classic browser hijacking signs.
Sign 3: Sudden, Extreme Slowness
Your computer suddenly takes 10x longer to load anything. Modern malware like "crypto-miners" steal your CPU power to mine digital currency, running hot and slow.
Sign 4: Friends Receiving Spam From You
Family or friends say they're getting strange emails, social media messages, or chat links from you that you never sent. Your device or accounts are compromised.
Run a Full Malware Scan Immediately
- Windows Security → "Virus & threat protection"
- "Scan options" → "Full scan"
- Let it run completely (1-2 hours)
Malware still present? Some sophisticated rootkits bypass built-in antivirus. Consider professional virus removal services for deep system cleaning.
These are 100% fake tech support scams designed to steal your money and banking information. Here's how to recognize and escape them safely.
The Golden Rule: Real Tech Companies Never Call You
Microsoft, Apple, and Google never display pop-ups with phone numbers asking you to call. If a phone number appears on a browser pop-up, it's always a scam. Real antivirus software works silently in the background.
How These Scams Work
A loud siren plays. Your screen displays: "YOUR COMPUTER HAS BEEN LOCKED BY MICROSOFT. CALL 1-800-XXX-XXX." This is just a malicious webpage in full-screen mode designed to panic you into calling criminals who will:
- Ask you to download remote access software (AnyDesk, TeamViewer)
- Blur your screen and fake a virus scan
- Demand hundreds of dollars via credit card to "fix" the fake infection
Step-by-Step: How to Escape the Scam Safely
- Press Ctrl + Shift + Esc to open Task Manager
- Find your web browser in the list and select it
- Click "End Task" to close the malicious webpage immediately
- Reopen your browser. If it asks to restore tabs, click "Close"—do NOT restore the scam page
What If You Already Allowed Them In?
If you panicked and let them connect to your PC:
- Hold the power button for 10 seconds to force shutdown
- Unplug your internet router immediately to cut their connection
- Call your bank using the number on your physical card to freeze your accounts
- Contact Online Computer Technician to remove any backdoor software they left behind
Concerned about hidden malware? We can audit your system and ensure no remote access tools remain.
Browser adware often sneaks in through free software downloads. It redirects your searches, injects ads everywhere, and tracks your activity.
Step 1: Remove Rogue Browser Extensions
In Google Chrome:
- Click three dots (top-right) → "Extensions" → "Manage extensions"
- Carefully review every item. Remove anything unrecognized, especially "Ad Corrector", "Shopping Assistant", or "Search Helper"
- Click the toggle to turn off and then remove
In Microsoft Edge:
- Click three dots → "Extensions" → "Manage extensions"
- Remove any unrecognized add-ons
Step 2: Reset Your Default Search Engine
- Go to browser "Settings"
- Click "Search engine" (or "Privacy, search, and services")
- Change "Search engine used in address bar" back to Google or Bing
- Delete any suspicious entries from the search engine list
Step 3: Reset Browser to Factory Defaults
- In Settings, search for "Reset"
- Click "Restore settings to their original defaults"
- Confirm. This disables all extensions and clears temporary files
Adware still persisting? Some malware embeds itself in Windows registry itself. Professional removal may be needed.
"I thought it was backing up automatically!" is the most painful realization when a hard drive fails. A backup is only real if you can restore from it. Here's how to verify.
The 3-2-1 Backup Rule (Industry Standard)
- 3 copies of your data (1 working copy + 2 backups)
- 2 different types of media (e.g., external USB drive AND cloud storage)
- 1 copy off-site (cloud backup satisfies this)
Test an External USB Hard Drive Backup
- Plug your external hard drive into your computer
- Open Windows File Explorer and navigate into the backup folders manually
- Pick a random photo or document from 6+ months ago and try to open it
- If files open perfectly, your backup is healthy
Test Cloud Storage Backups (OneDrive or iCloud)
- Look in your taskbar near the clock for the cloud icon (OneDrive/iCloud)
- Click it. Does it say "Up to date" or show an error like "Storage Full"?
- Log into OneDrive.com or iCloud.com in a web browser
- Verify your recent files appear there
Backup failing? Don't wait for a hard drive crash. We can help design and deploy a foolproof backup system.
🌐 Internet & Networking
Your computer is clearly connected to Wi-Fi, but can't reach the outside world. The glitch could be an IP conflict, a frozen router, or a network configuration error.
Step 1: Determine the Scope (Is it just you?)
Before changing your computer settings, check your phone or tablet on the same Wi-Fi:
- If phone works perfectly: Issue is localized to your computer
- If phone also has no internet: Issue is with your router or ISP
Step 2: Power Cycle Your Router (If All Devices Are Down)
- Unplug the power cable from the back of your router
- Wait a full 60 seconds (this clears the temporary memory cache)
- Plug it back in and wait 3-4 minutes for all green lights to stabilize
- This simple step solves roughly 80% of home networking glitches
Step 3: Flush DNS Cache (If Only Your PC Is Down)
Your computer's internal "digital address book" (DNS cache) might be scrambled:
- Right-click Start menu → "Terminal (Admin)"
- Type:
ipconfig /flushdns - Type:
netsh winsock reset - Restart your computer
Still isolated? The issue may be a corrupted network driver or VPN software blocking traffic. Professional diagnostics can identify the root cause.
Wi-Fi signals are invisible radio waves prone to physical blockages and interference. Here's how to optimize your coverage.
Tip 1: Relocate Your Router
Where is your router sitting? If it's hidden in a cupboard, behind metal objects, or on the floor, signal suffers.
- Place your router in a central room, ideally elevated on a shelf or table
- Keep it away from brick walls, mirrors, and metal objects
- Wi-Fi broadcasts outward and downward from this location
Tip 2: Switch to the 5GHz Frequency Band
Most modern routers broadcast two signals: 2.4GHz and 5GHz.
- 2.4GHz: Travels further through walls but is slow and crowded (microwaves, cordless phones, baby monitors use this frequency)
- 5GHz: Incredibly fast and immune to appliance interference, but shorter range
- If you're close to your router, connect to the "_5G" version of your network
Tip 3: Update Your Wireless Network Driver
If Wi-Fi drops only on one laptop while everything else is stable:
- Right-click Start button → "Device Manager"
- Expand "Network adapters"
- Right-click your wireless card → "Update driver" → "Search automatically"
Dead zones persist? Thick brick walls or multiple stories may need a mesh Wi-Fi system. We can conduct a wireless audit and install professional solutions.
If your phone downloads at full speed but your PC crawls, the bottleneck is inside your computer, not your internet.
Reason 1: Missing Wi-Fi Antennas on Desktop
Many desktop PCs have a wireless card but require you to manually screw antennas into the back:
- Check the back of your desktop PC
- If antennas are missing or loose, tighten them or attach them (usually 2 black plastic antennas)
- Point them upwards for best signal
Reason 2: Outdated Wireless Hardware Standards
Modern phones support Wi-Fi 6 or 6E (fast). Older desktop PCs (5-6 years old) may be limited to slower wireless standards.
- Check Device Manager → "Network adapters" → right-click your card → "Properties"
- If it's an older Intel or Realtek card, it may be physically incapable of faster speeds
Reason 3: Background Apps Consuming Bandwidth
Unlike smartphones, desktops don't aggressively shut down background tasks:
- OneDrive, Google Drive, or Dropbox uploading gigabytes in the background
- Windows Update or Steam downloading massive updates without notifying you
- Open Task Manager → "Performance" → "Network" to see current usage
Upgrade available: An inexpensive modern USB Wi-Fi adapter can instantly upgrade your PC to newer wireless standards.
⚙️ Windows & Software Issues
Windows 10 support ended October 2025. Microsoft introduced strict Windows 11 hardware requirements, including TPM 2.0. Here's how to check compatibility.
What is TPM 2.0?
TPM (Trusted Platform Module) is a security chip on your motherboard that protects passwords and encryption. Windows 11 requires version 2.0 (TPM 2.0) for high-level security. Many computers built after 2018 have this chip but it's often disabled by default.
The Quick Way: Use Microsoft's PC Health Check App
- Search for "Microsoft PC Health Check app" online
- Download and install from Microsoft's official website
- Open the app and click "Check now"
- If compatible, you'll see a green checkmark. If not, it shows what's missing.
Manual TPM 2.0 Check
- Press Windows Key + R to open the Run box
- Type:
tpm.msc - Look under "Status." If it says "The TPM is ready for use", check the bottom-right for "Specification Version 2.0"
If TPM 2.0 is Missing or Disabled
Your system might have the hardware chip but it's disabled in BIOS (deep motherboard settings). This often requires opening BIOS during startup, which is risky if you're unfamiliar. Professional help recommended.
Need help upgrading? We provide professional Windows 11 upgrade services with safe BIOS configuration and full data backup.
Windows Updates are critical for security, but the update engine can get stuck in loops with cryptic error codes like 0x80070002.
Method 1: Run the Built-In Windows Troubleshooter
- Settings → "System" (or "Update & Security" on Windows 10) → "Troubleshoot"
- Click "Other troubleshooters"
- Find "Windows Update" and click "Run"
- The tool automatically repairs update files and services
- Restart your PC and try updating again
Method 2: Clear Corrupted Update Files
If the troubleshooter fails, a corrupted download file is blocking the queue:
- Right-click Start menu → "Terminal (Admin)"
- Search for and open "Services" app
- Scroll down, find "Windows Update", right-click → "Stop"
- Open Windows File Explorer and navigate to:
C:\Windows\SoftwareDistribution\Download - Select all files inside (Ctrl + A) and delete them
- Go back to Services, right-click "Windows Update" → "Start"
- Go to Settings and check for updates again (clean files will download)
Method 3: Ensure Sufficient Storage Space
Major Windows updates require 10-20GB of completely free space:
- If your main C: drive is full, the update will repeatedly fail
- Free up space (see Topic 2: Free Up Disk Space) and try updating again
Still failing? Deep system file corruption may require professional OS-level repair to avoid security vulnerabilities.
When your browser crashes instantly or freezes when opening specific pages, your entire online access stops.
Step 1: Perform a Hard Closure via Task Manager
Sometimes a browser is running as a "ghost process" frozen deep in memory:
- Press Ctrl + Shift + Esc
- Look for "Google Chrome", "Microsoft Edge", or "Firefox"
- Right-click and select "End Task"
- Once it disappears, try opening the browser normally
Step 2: Test in "Incognito" or "Safe Mode"
Browser extensions are the #1 cause of crashes. Test without them:
- Chrome/Edge: Right-click app icon on taskbar → "New Incognito Window" or "New InPrivate Window"
- If browser works perfectly in private mode, an extension is the culprit
- Go to Settings → "Extensions" and disable them one by one until you find the bad one
Step 3: Clear Cache and Cookie Data
A corrupted cookie from a website can trigger crashes:
- Press Ctrl + Shift + Delete
- Set time range to "All time"
- Check "Cookies and site data" and "Cached images and files"
- Click "Clear data" and restart browser
Still crashing? Deeper software conflicts or malware may require professional diagnostics and system-level repair.
🔌 Hardware & Peripherals
Laptops pack immense power into thin cases and rely on tiny fans to push heat out through vents. Overheating damages internal components and shortens lifespan.
The Root Cause: Dust and Poor Placement
Over months, cooling fans act like miniature vacuum cleaners, sucking up dust, carpet fibers, and pet hair. This debris blankets the heatsink, completely trapping heat inside. Additionally, using laptops on soft surfaces (beds, couches, pillows) blocks air intake slots.
Tip 1: Always Use on Hard, Elevated Surfaces
- Always use laptops on flat, hard desks or tables
- If you want to use in bed, place a hard laptop tray or wooden board underneath
- This keeps the rubber feet elevated, maintaining air gap clearance
Tip 2: Clear Dust with Compressed Air
- Completely shut down laptop and unplug the charger
- Locate ventilation slots on sides or bottom
- Hold compressed air can upright and use quick, short bursts into vents
- You'll see dust puffs exit from opposing vents
When Professional Intervention is Needed
If your laptop continues running blistering hot or makes grinding/clicking noises, the cooling fan bearing is worn or the thermal paste has dried out:
- Worn cooling fan bearings require replacement
- Factory thermal paste dries up after 3-4 years and loses all effectiveness
- Don't let overheating damage permanent components
Professional thermal service available: We safely open your laptop, clear packed dust completely, replace cooling fans, and apply fresh premium thermal paste.
Your laptop receives electricity from the wall but refuses to charge the battery. This could be a software driver error, a faulty power brick, or a degraded battery.
Step 1: Test the Physical Hardware Layer
- Unplug charger and inspect the entire cable length for kinks, cracks, or pet chew marks
- Check the power brick module in the middle of the cable—is it hot to the touch? Chargers have safety switches that stop charging if overheated. Let it cool down
- Try plugging into a completely different wall outlet directly (avoid cheap power strips or adapters)
Step 2: Reinstall the Hidden Windows Battery Driver
The software Windows uses to communicate with your battery may be glitched, telling it to stop charging by mistake:
- Right-click Start menu → "Device Manager"
- Expand "Batteries" section
- Look for "Microsoft ACPI-Compliant Control Method Battery"
- Right-click → "Uninstall device" (your screen stays on—this is safe!)
- Click the "Action" button at top → "Scan for hardware changes"
- Windows instantly reinstalls a fresh, clean battery driver
- Unplug and replug your charger—it should begin charging
When is it Time for a New Battery?
Lithium-ion batteries last 2-4 years. If your laptop only works plugged in and dies instantly unplugged, the battery cells have degraded chemically. Professional replacement recommended.
Need a battery replacement? We provide fast, professional laptop battery replacement for all major brands (HP, Dell, Lenovo, Apple, Asus, Acer) with high-quality parts.
You click print, the document vanishes, and nothing comes out. Printer errors are rarely mechanical—usually they're communication or software queue problems.
Step 1: Check the Physical Essentials
- Check the printer screen for error symbols: "Low Ink", "Paper Jam", etc.
- A single hidden paper jam deep inside will lock the entire software down
- If using USB cable, unplug it and try a completely different USB port on your computer
Step 2: Clear a Stuck Print Spooler Queue
When you send documents to a printer, Windows arranges them in a "Print Spooler" queue. If one document has an error, it blocks all subsequent jobs (like a car breakdown on a one-lane road):
- Right-click Start menu → "Services"
- Scroll down, find "Print Spooler", right-click → "Stop"
- Keep this window open. Open File Explorer and navigate to:
C:\Windows\System32\spool\PRINTERS - Select any files in this folder and delete them all (completely clears the jammed queue)
- Go back to Services, right-click "Print Spooler" → "Start"
- Try printing your document fresh
Step 3: Verify Wi-Fi Network Connection
For wireless printers, ensure both your computer and printer are on the same Wi-Fi network:
- If your computer jumped to a "Guest Network" or Wi-Fi extender, it won't see the printer
- Reconnect both to your main home network
Printer still offline? Printer software suites can be notoriously bloated. We provide professional printer configuration and troubleshooting across SE Melbourne.
A tipped coffee mug, spilled water glass, or juice spill onto your laptop keyboard can destroy it in seconds. What you do in the next 60 seconds determines survival. Follow these steps immediately—do not hesitate.
Step 1: Emergency Power Cut (Don't Wait for Windows to Shut Down)
When liquid hits a running circuit board, it creates electrical short-circuits that instantly fry the processor. Every second electricity flows through wet metal increases damage.
- Do NOT click "Start", "Power", and wait for Windows shutdown
- Press and hold the physical power button down for a full 10 seconds until the screen goes black
- Immediately pull out the charging cable
Step 2: Flip the Laptop Into a "Tent" Shape
Gravity is your best friend. You want liquid to drain away from the keyboard down into the motherboard underneath.
- Grab a clean dry towel and lay it on a table
- Open your laptop screen as wide as physically possible
- Turn the laptop completely upside down, resting it like an upside-down "V" or tent on the towel
- This forces liquid to drain away from sensitive internal chips
Step 3: Remove Peripherals (And Debunk the Rice Myth)
- Unplug any USB mice, flash drives, or external dongles connected
- DO NOT put your laptop in uncooked rice. This is a dangerous tech myth! Rice dust and starch enter vents, mix with spilled liquid, and form a sticky cement-like paste that glues fans and components shut, making professional repair impossible.
Step 4: Do Not Turn It Back On For At Least 24-48 Hours
Even if the laptop looks completely dry an hour later, water remains trapped inside miniature components for days. Turning it on too early causes fatal short-circuits. Let it drain in a warm room with moving air.
Get Professional Ultrasonic Cleaning for Sticky Liquids
If you spilled sticky or corrosive liquids (coffee, tea, soft drinks, wine), simply drying isn't enough. As liquid evaporates, it leaves sticky sugars and acids that corrode copper circuit lanes over weeks, causing failure later.
Emergency hardware service available: Contact Online Computer Technician immediately for emergency pickup. We safely open your laptop, disconnect the battery, cleanse the motherboard with specialized electronic alcohol compounds to arrest corrosion, test components for shorts, and maximize chances of saving your machine and data across SE Melbourne.
Guides Not Working? Get Professional Help
If you've tried these troubleshooting steps and your computer is still struggling, or if you'd prefer to have Ahmad handle it, we're just a call or message away. Same-day available for software issues, free pickup for hardware repairs across SE Melbourne.